Creating an Account Connection
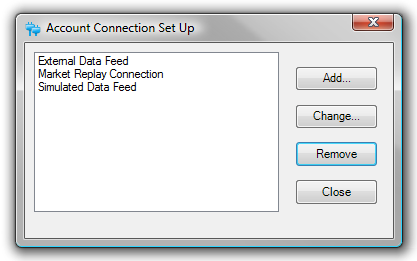
Within the Account Connection Set Up window you can establish a connection, add a connection, change a connection or remove a connection. The following steps use eSignal as the connectivity provider. This provider is used for demonstration purposes.
To create an account connection:
1. Open the Account Connection Set Up window by going to the menu within the Control Center and selecting the menu item
2. Press the Add... button to launch the connection wizard.
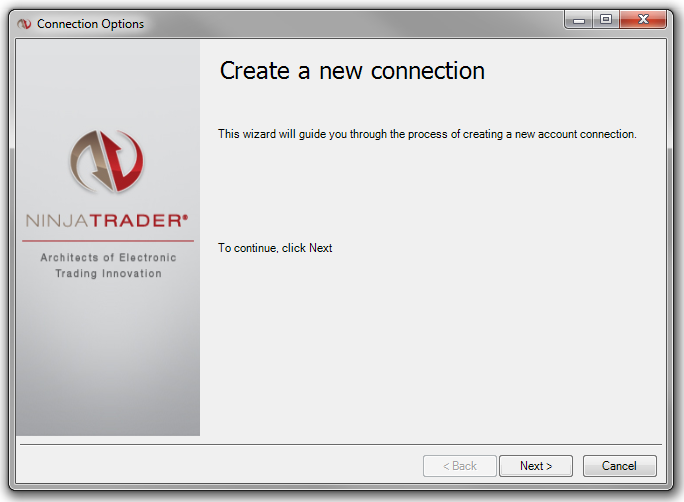
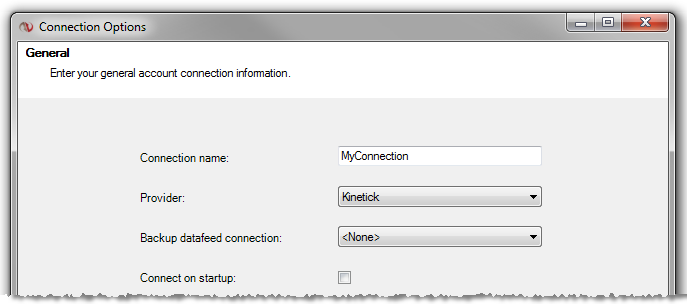
3. After pressing the Next button, you will be prompted to supply:
| • | User defined connection name (Only use alphanumeric characters in the connection name) |
| • | Select the connectivity provider |
| • | Optional back up data feed connection |
| • | Optionally select "Connect on startup" to automatically connect to this connection when NinjaTrader is started.
Note: Please test and ensure your connection is working as expected before using this option as it is possible to input incorrect credentials which could prevent the startup of NinjaTrader. |
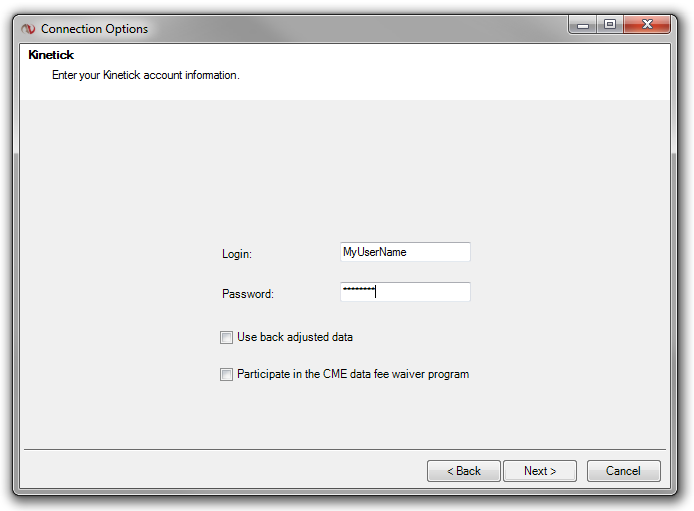
4. After pressing the Next button, you will be presented with provider specific parameters that you must enter in order to establish a connection. Each different provider may have different options. For specific information relative to your connectivity provider, please see the Connection Guide.
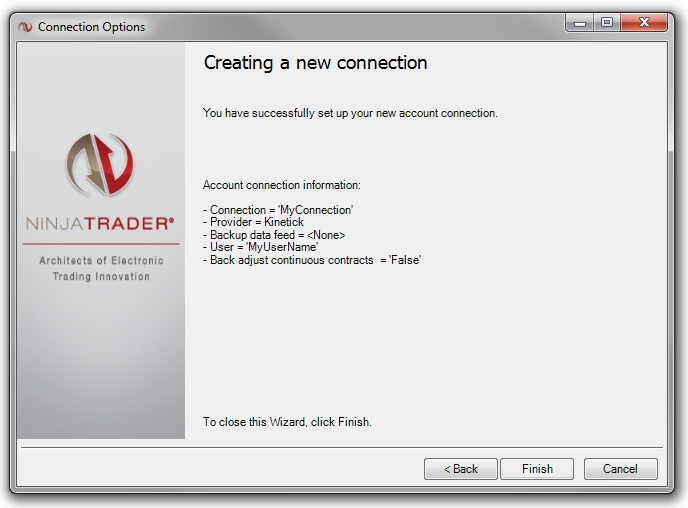
5. Once you have entered in all of the required connectivity information and pressed the Next button, your set up information will be presented to you at which time you must press the Finish button.
The newly created connection will be displayed in the Account Connection Set Up window and can be connected to by selecting the menu from the Control Center then selecting the menu item and left mouse clicking on the account connection you have created.
|